
Ever wondered how professional voice-overs get that incredibly smooth, clear sound? The secret often isn't some expensive piece of high-tech gear, but a simple, almost humble tool: the pop filter. It's a non-negotiable accessory that tames harsh vocal sounds before they ever have a chance to ruin a perfect take.
The Secret to Professional Voice Recordings
Think about what happens when you say words with hard 'p' or 'b' sounds. A little puff of air shoots out from your mouth. When that burst of air hits a microphone's sensitive diaphragm, it creates a loud, low-frequency 'pop' or 'thump'. In the industry, we call these plosives.
A pop filter is essentially a shield. It sits between you and the microphone, intercepting that sudden gust of wind and softening it. The result? Your message comes through with crystal-clear precision, free from those distracting thuds.
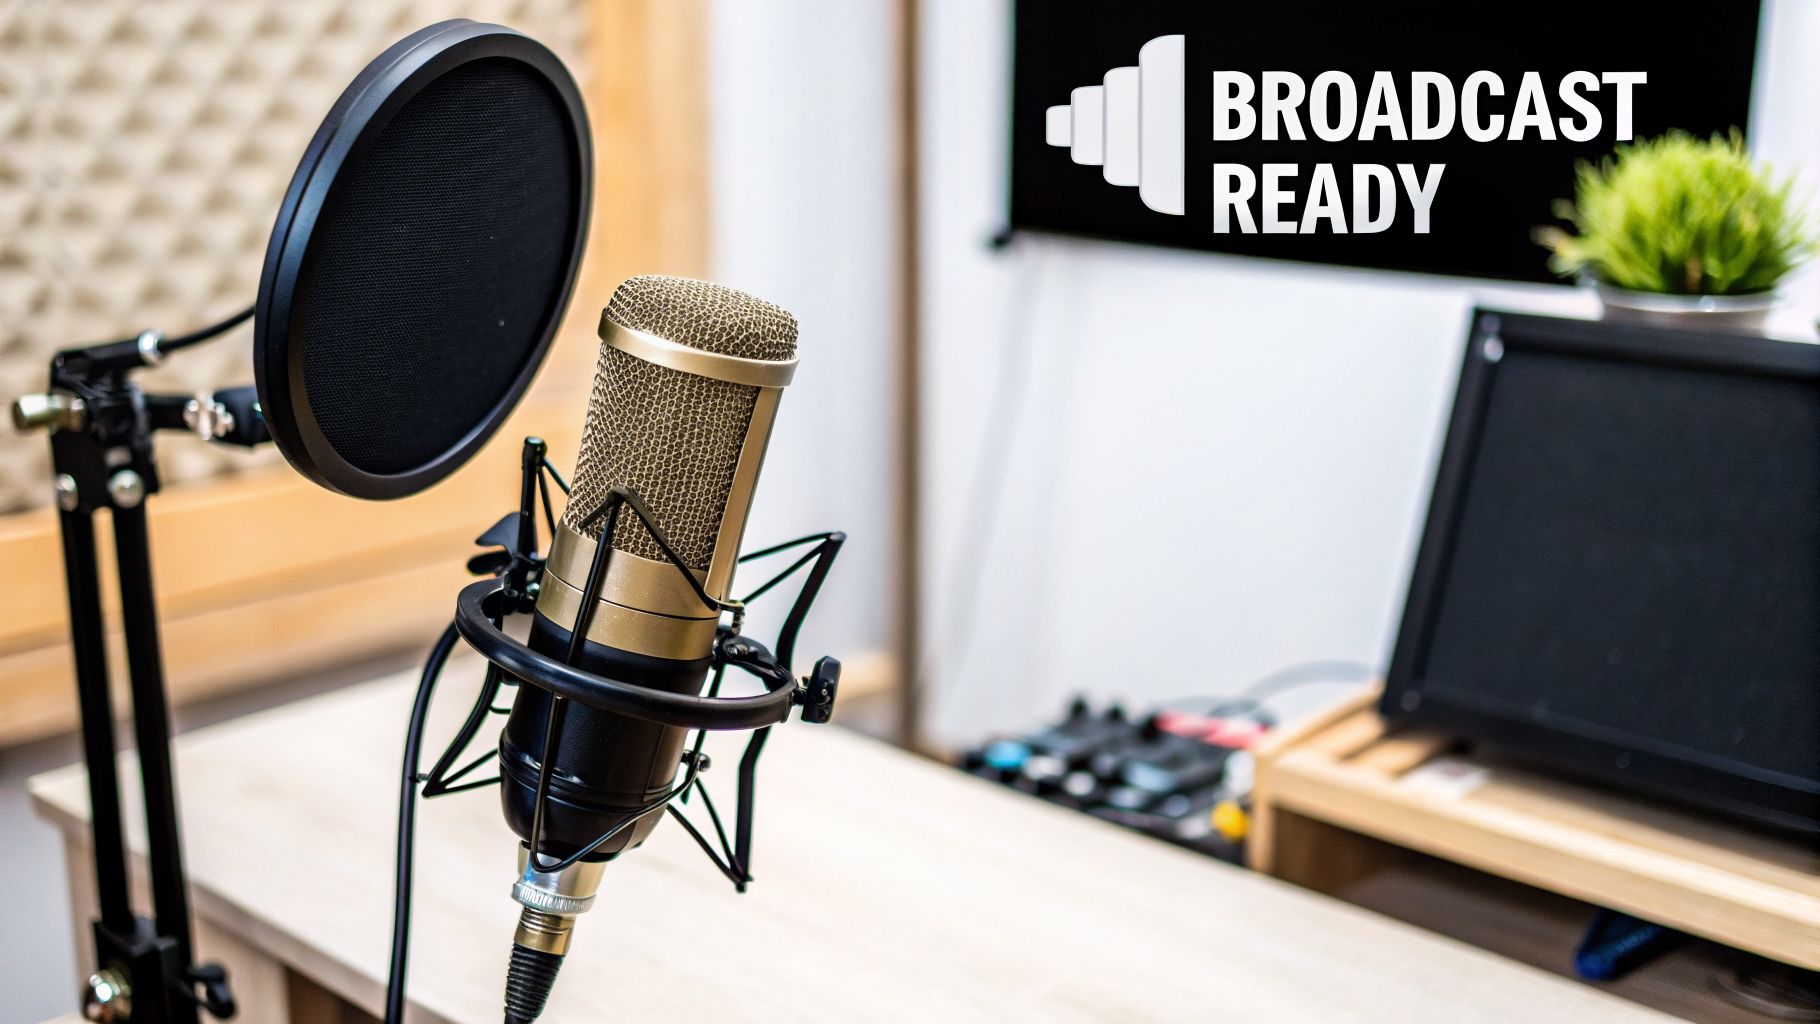
For any business that uses audio to communicate, those pops can instantly make you sound amateur. This holds true whether you’re producing:
- On-hold phone messages and IVR systems
- Radio and television commercials
- Engaging podcast advertisements
- Professional e-learning narrations
Why Quality Matters in Audio Production
This small piece of equipment is an absolute must-have for achieving broadcast-ready quality. It's the simplest solution to one of the most common problems in voice recording. In Australia's growing $77 million microphone market, pop filters are an indispensable part of any professional's kit. For a business like The Voice Over Guy, which serves studios across Sydney, Melbourne, Brisbane, and Perth, they are critical for ensuring clarity, reducing breath pops by up to 90%.
A pop filter is a performer's best friend. I've found that even with high-end microphones, a pop filter is essential. It lets you get close to the mic for that intimate, warm sound without the fear of plosives destroying the take.
Building Your Professional Setup
For anyone serious about getting pristine audio, a great microphone paired with an effective pop filter is the foundation of a professional setup. Choosing the best microphones for podcast recording is a great first step, but without a pop filter, even the best mic will struggle with plosives.
Getting clean raw recordings with this simple combination makes everything that comes after much, much easier. To see how this fits into the entire workflow, you can learn more about the role of editing in the https://thevoiceoverguy.com.au/post-production-of-voice-overs. Ultimately, a pop filter is your first line of defence against bad audio.
What Are Plosives and Why They Ruin Audio
Have you ever been listening to a recording and suddenly heard a loud, distracting ‘thump’ or ‘pop’ on words with ‘p’ or ‘b’ sounds? Those are plosives, and they are a voice actor's worst enemy. They’re caused by the powerful, sudden burst of air that leaves your mouth when you pronounce certain consonants.
Think of it like this: your normal speech is a gentle breeze, but a plosive sound is a sharp, focused gust of wind. When you say a word like "podcast" or "professional," that blast of air shoots out and smacks right into your microphone's delicate diaphragm. This sudden impact overloads the mic, creating a boomy, low-frequency pop that sounds completely unnatural.
The Science of the Pop
A microphone is engineered to capture the subtle vibrations of sound waves, not a direct hit from a gale-force wind. When that burst of air from a plosive hits the diaphragm, it forces it to move violently, well beyond its normal operating range. The audio signal it produces is a sharp, distorted peak that is notoriously difficult—and often impossible—to fully repair later on.
That abrupt energy spike doesn't just sound bad; it's jarring. It can make a polished corporate narration feel amateurish, pull a listener right out of an engaging audiobook, or make a podcast sound cheap and poorly produced.
This is exactly why a pop filter isn't just a nice-to-have accessory; it's an essential piece of studio kit. Even high-end broadcast microphones like the Rode Procaster have built-in filters, but they can still struggle to completely block a strong plosive at close range. An external filter is your best line of defence.
Why It Matters to Your Audience
At the end of the day, plosives just make for a bad listening experience. They break the flow, distract from your message, and instantly signal a lack of professionalism. Whether you're recording a simple on-hold message or a complex character for a video game, these pops will seriously undermine the quality of the final product.
Understanding what causes these pops is the first step toward getting rid of them for good. The solution is remarkably simple: put a physical barrier in place to diffuse that puff of air before it ever reaches the microphone. Mastering this is a key part of the art of the voice over and a fundamental skill for anyone serious about their sound. A pop filter doesn't just improve your audio; it protects the integrity of your performance.
How to Choose the Right Pop Filter
Picking the right pop filter isn't just about ticking boxes on a spec sheet; it's about finding the perfect match for your voice, your microphone, and your recording space. With a few different types out there, each with its own quirks, knowing what to look for is the key to getting that clean, professional sound. Most of the time, the decision boils down to two main contenders: the classic woven nylon filters and the more modern metal mesh designs.
Which one is right for you? Well, that depends on your microphone, the room you’re recording in, and, of course, your budget. If you're kitting out a new podcasting rig for a startup, a reliable and affordable nylon filter might be all you need. But for a busy commercial studio, the long-term durability of a metal filter often makes it a much smarter investment.
This decision tree gives you a great visual of what we're fighting against—those sudden, disruptive bursts of air from 'p' and 'b' sounds, known as plosives.
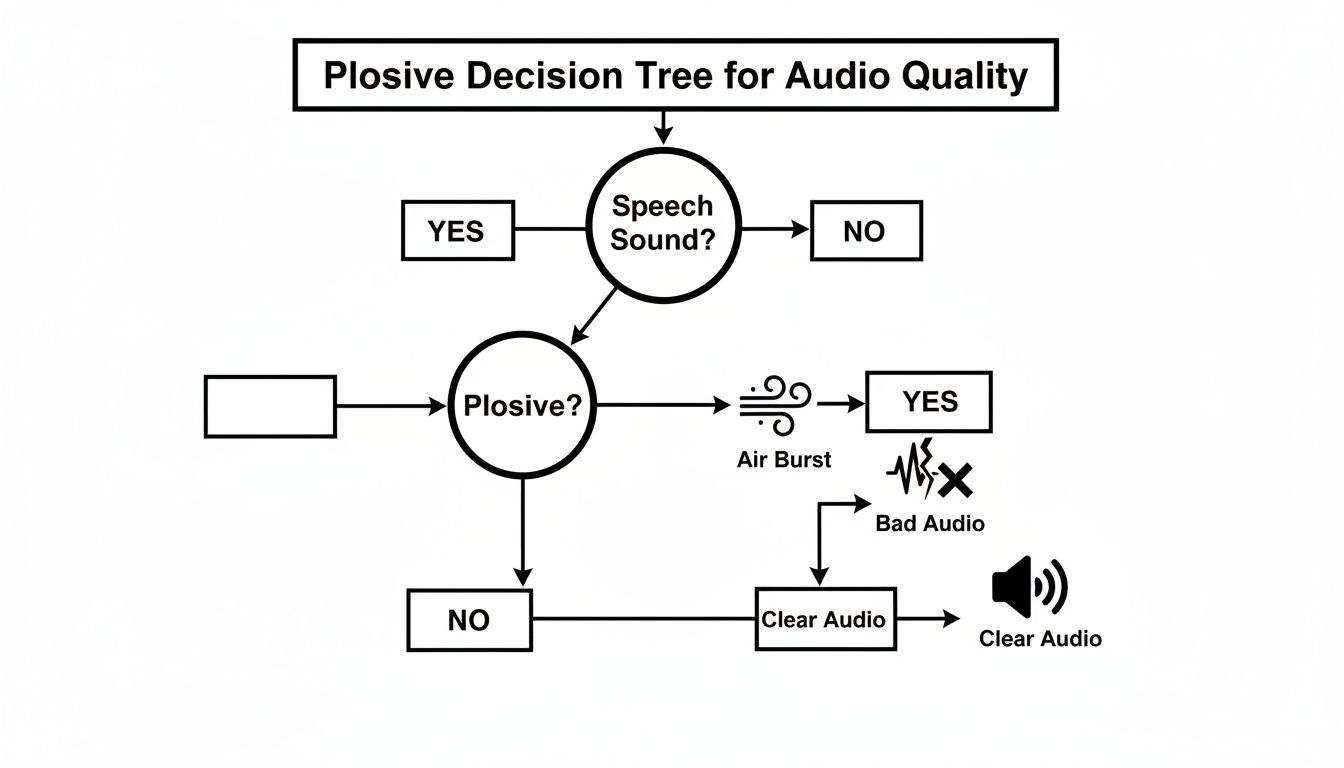
As you can see, the moment that plosive hits the air, you're on a path to potentially distorted audio. A pop filter is your essential gatekeeper, stopping that air burst before it can ruin a perfect take.
Nylon Mesh vs Metal Mesh Filters
Woven nylon pop filters are the old-school standard you've seen in countless studios. They're effective, they're affordable, and they do a great job of diffusing those air blasts before they can overload the mic diaphragm. They usually have one or two layers of stretched nylon fabric to get the job done.
But they're not without their flaws. That fabric can sometimes absorb a little of the high-frequency sparkle from your voice, slightly colouring the sound. They can also be a pain to clean and will eventually sag or tear, making them less suited to high-traffic professional environments.
Metal mesh filters, on the other hand, represent a more modern approach. Instead of simply slowing the air down, their perforated metal design cleverly redirects it downwards, away from the sensitive microphone capsule. This makes them far more acoustically transparent, meaning the natural brightness and detail of your voice are preserved.
Metal pop filters offer far better durability and are incredibly easy to sanitise between sessions—a non-negotiable feature for professional studios working with multiple voice actors. While they cost a bit more upfront, their sheer longevity often makes them the more economical choice in the long run.
What About Foam Windscreens?
You've probably also seen those foam covers that slip directly over the top of a microphone. While people often confuse them with pop filters, they actually serve a different primary purpose.
- Foam Windscreens: These are best for cutting down general wind noise when recording outdoors. They also offer some basic protection for the mic capsule against dust and moisture. However, they are not very effective against the direct, high-pressure air bursts from plosives.
- Pop Filters (Nylon/Metal): These are specifically engineered to stop those focused air blasts from 'p' and 'b' sounds. They are the go-to tool for any indoor vocal recording, whether it's for podcasts, voice-overs, or music.
Even microphones that come with a built-in pop filter, like the fantastic Rode Procaster, can benefit from an external one. The internal filter acts as a solid first line of defence, but adding an external pop filter provides that extra layer of security, especially for talent who tend to get right up on the mic.
Ultimately, your choice should be guided by your specific goals. For a home podcaster just starting out, a good dual-layer nylon filter is a brilliant and cost-effective choice. But for a professional voice-over business where pristine audio quality and equipment hygiene are paramount, a high-quality metal mesh filter is almost always the superior option.
How to Position Your Pop Filter for the Best Sound
So you’ve got a pop filter. That’s a great first step, but just having one isn't the whole story. Getting clean, professional audio really comes down to how you use it. Simply clipping it to your mic stand and hitting record won't cut it.
In fact, bad placement can be just as damaging as having no filter at all. If it’s too close to the microphone, the air from plosives ('p' and 'b' sounds) doesn't have enough room to disperse and still hits the mic. Too far away, and that same blast of air can just curve right around it, making the filter useless.
The One Hand-Width Rule
Here’s a trick that audio engineers have been using for decades: the one hand-width rule. It's a fantastic starting point. Just put your hand up sideways, thumb pointing up, and fit it between the pop filter and the microphone's grille. This gap, usually about 10-15 centimetres, is the sweet spot.
Why does this work so well? It gives the burst of air from a plosive just enough space to lose its energy after it passes through the filter's mesh, but before it can hit the mic's delicate diaphragm. It’s a simple, reliable guideline that gives you a consistent setup every single time.
Fine-Tuning Your Placement
Of course, the hand-width rule is just a starting point. Every voice is unique, and so is every microphone, so a little tweaking is often necessary to get things perfect.
- For Powerful Voices: If you or the person you're recording has a really punchy, forceful delivery, you might need a bit more space. Try moving the filter back another centimetre or two.
- For Sensitive Condenser Mics: Those high-end condenser mics are incredibly sensitive and will pick up everything. With these, you’ll want to stick to the hand-width rule pretty strictly.
- For Softer Voices: On the other hand, if the vocal performance is more subtle and quiet, you can often get away with moving the filter a touch closer without any issues.
Ultimately, the goal is to find that perfect balance: get the filter as close as you can to kill the pops, but without colouring or muffling the natural sound of the voice. A well-placed filter should be sonically invisible, only stepping in to stop those unwanted plosive thumps.
Securing the Gooseneck
There’s nothing more frustrating than a pop filter that starts to droop halfway through a perfect take. That flimsy, sagging gooseneck is the enemy of consistent audio.
When you clamp the filter to your mic stand, make sure it’s attached to a thick, solid part that won't move. Avoid clamping it to telescoping sections or thin arms. Once you’ve bent the gooseneck into position, give it a little nudge to ensure it’s not going anywhere. This kind of stability is essential for professional audio production in use with voice overs and jingles, as it guarantees your recording environment stays exactly the same from start to finish.
Do Modern USB Microphones Need Pop Filters?
With so many high-quality, plug-and-play USB microphones on the market now, it's a question I hear all the time: do these modern mics really still need an old-school pop filter?
The answer is a definite yes. While the technology inside the microphone has come a long way, the physics of how we speak hasn't changed at all.
A top-tier USB condenser microphone is just as sensitive to plosives as any classic XLR studio mic. That loud, ugly 'thump' you get from a 'p' or 'b' sound is caused by a sudden blast of air hitting the microphone's delicate diaphragm. It doesn't matter if the signal travels down a USB or an XLR cable afterwards; the damage is already done. The problem isn't the connection type, it's about protecting that sensitive recording element in the first place.
It's About Physics, Not Technology
It's a common and often costly mistake to think a fancy new USB mic is somehow immune to plosives. You can spend a lot of money on a fantastic microphone known for its crystal-clear audio, only to have your recordings ruined by those distracting pops. A pop filter for a microphone is the simple, non-negotiable shield that protects your investment.
This is more important than ever, as USB mics are now the go-to for so many creators. The Australian microphone market, which reached USD 89.8 million in 2024, is dominated by the growth of USB models. This surge, fuelled by the boom in podcasting and animation, just goes to show how essential pop filters are for getting that clean, professional voice-over sound. In fact, a 2024 industry poll found that 70% of Australian podcasters noticed a massive improvement in their audio clarity just by adding a pop filter to their USB mic. You can read more about the microphone market trends in Australia.
Your microphone's quality is only as good as the sound that reaches it. A pop filter isn't an optional extra; it's what allows your expensive mic to perform at its best by stopping air bursts before they become audio problems.
Ultimately, a pop filter is what makes your recordings sound polished and professional right from the start. For anyone putting together a home studio or recording setup, this simple tool is an absolute must-have. And if you're thinking about creating a dedicated space for your projects, see what we recommend looking for in a professional podcast studio in Melbourne.
Simply put, using a pop filter with your USB mic is the easiest win you'll get for taking your sound from good to great.
Simple Maintenance for Your Pop Filter
Just like any other piece of studio gear, your pop filter needs a little care to stay in top shape. It's not just about hygiene, although that's a big deal in a shared studio. A dirty filter can actually start to compromise your sound quality.
Over time, a build-up of dust and saliva can clog the mesh. This might not seem like a big deal, but it can dampen the high frequencies in your recordings, leaving your audio sounding muffled and less vibrant.
Keeping your pop filters for microphone clean is a simple habit that shows you’re serious about quality. It makes sure your gear is always ready for a session, looks professional, and helps you capture the best possible audio. The good news is, cleaning is straightforward, though the exact method depends on the type of filter you have.
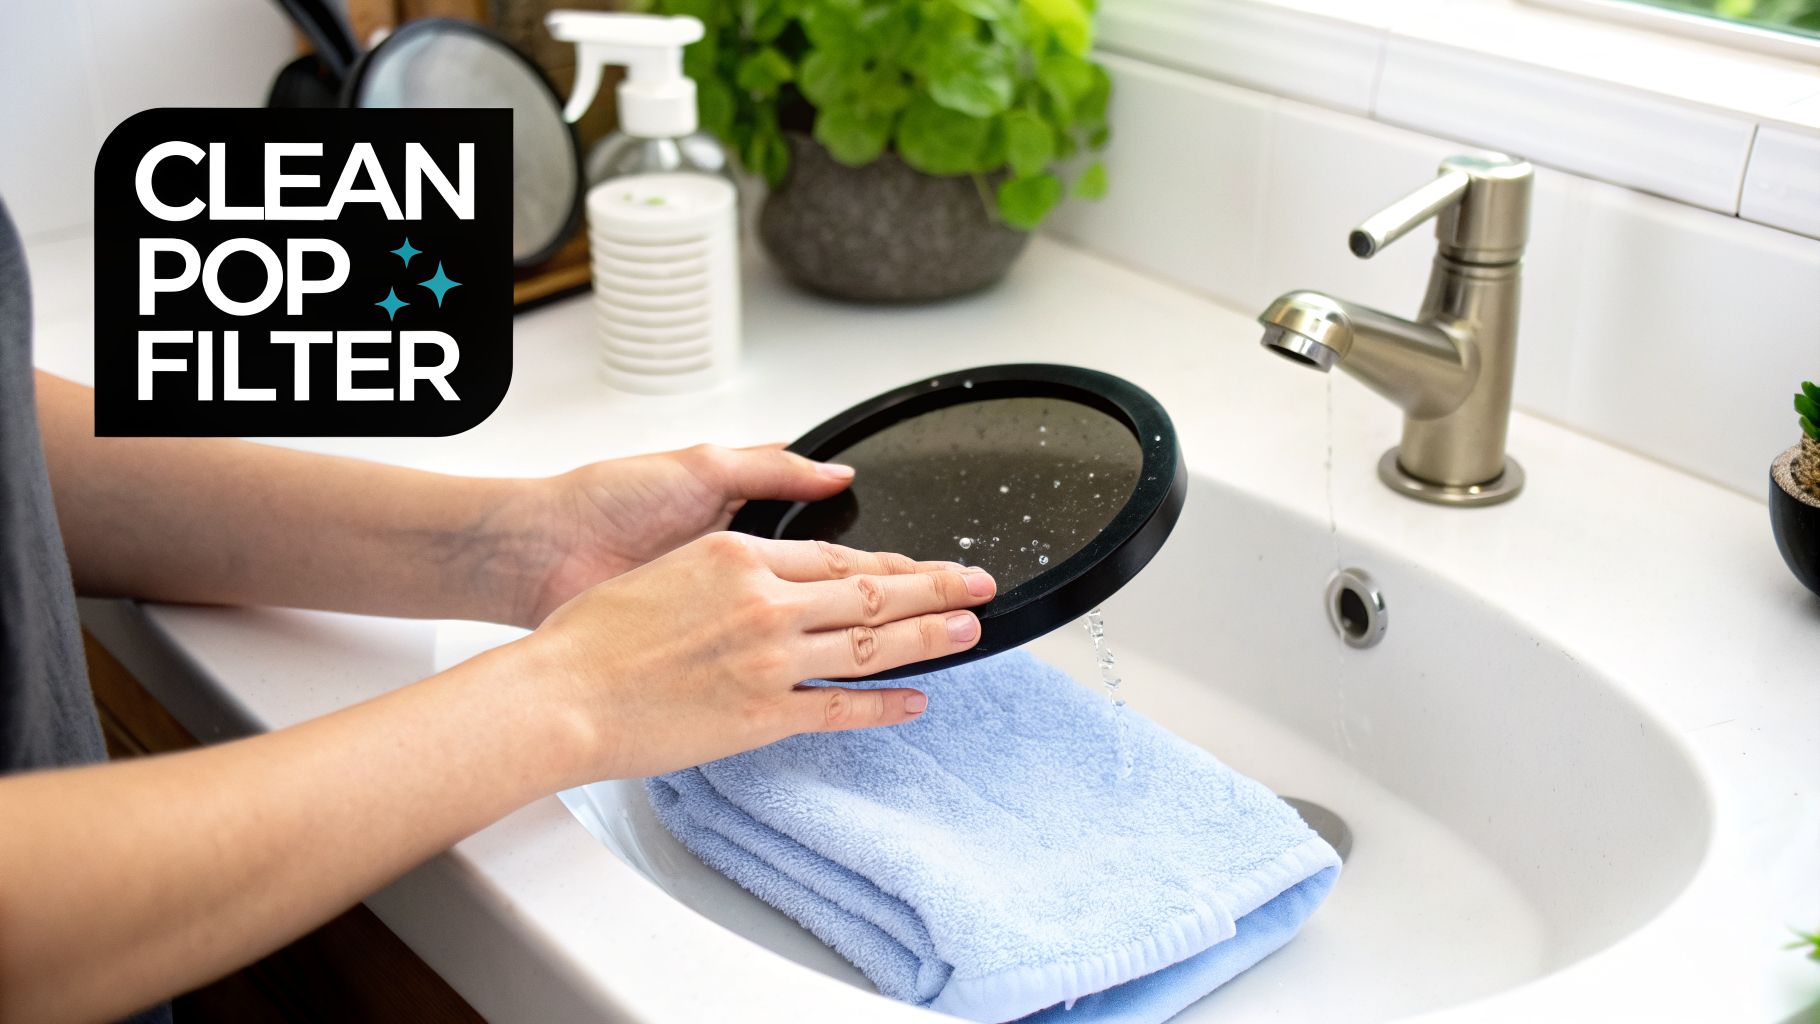
How to Clean Your Pop Filter
For woven nylon filters, a gentle touch is key. Think of them as fabric stretched over a frame – they can be easily damaged if you’re too rough.
- Prepare a Mild Solution: Mix a small amount of mild soap or dishwashing liquid with warm water. Stay away from harsh chemicals or bleach, as they can break down the fabric.
- Gently Clean the Mesh: Dip a soft cloth or sponge into your soapy water and carefully wipe down both sides of the nylon mesh. There's no need to scrub aggressively.
- Rinse and Dry: Lightly rinse the filter with clean water to get rid of any soap residue. Pat it dry with a towel, then let it air dry completely before putting it back on the microphone stand. Never put a damp filter in front of your mic.
Metal mesh filters are even easier to maintain, which is one of the reasons they’re so popular in busy commercial studios.
For metal filters, simply wipe them down with a slightly damp microfibre cloth. If you need to sanitise it between voice actors, a quick spray with an electronics-safe isopropyl alcohol solution and a wipe-down is all it takes.
This simple maintenance routine only takes a few minutes but pays off hugely in audio fidelity and the lifespan of your gear. A clean pop filter is a happy pop filter, ready to help you capture flawless vocal takes every time.
Common Questions About Pop Filters
Even once you understand what a pop filter is supposed to do, a bunch of practical questions always pop up when you're actually putting your recording gear together. So, let's tackle some of the most common ones we hear from creators and businesses trying to get that perfect sound.
These are the nitty-gritty questions that cover everything from gear choices to last-minute workarounds, helping you make the right call for your setup.
Do I Really Need a Pop Filter if My Mic Came with a Foam Cover?
For any kind of professional recording, the answer is almost always yes. That little foam cover that slips over your mic is technically a windscreen. Its main job is to cut down on general wind noise, which makes it great for recording outside. Think of it like a light jacket – good for a breezy day.
But that foam isn't very good at stopping the sharp, high-pressure puff of air that comes from plosives—those hard 'p' and 'b' sounds. A dedicated pop filter, on the other hand, is specifically built to break up that direct blast before it hits the microphone. For the clean, crisp audio needed in professional voice-overs or podcasts, a purpose-built pop filter for a microphone is simply non-negotiable.
A quick heads-up: a cheap or poorly placed pop filter can sometimes slightly dull the high frequencies of your voice. This is why many audio engineers swear by metal mesh filters, which are known for being more acoustically transparent. It also highlights why getting the placement right is so critical for keeping your vocals clear.
Can a Pop Filter Actually Hurt My Sound Quality?
A good quality pop filter, placed correctly, should have virtually zero negative effect on your sound. Its whole purpose is to block plosives without changing the tone of your voice. Imagine it as a clear shield that only activates when a harsh gust of air hits it.
However, problems can creep in. If a filter is too thick, caked in grime, or sitting way too close to the mic, it can muffle your recording. This is exactly why proper setup and a bit of cleaning now and then are key to getting consistently great results.
Is There a Good Alternative to a Pop Filter?
While a dedicated pop filter is hands-down the most reliable tool for the job, there are a couple of tricks you can use if you're in a bind. The most effective alternative comes down to adjusting your mic technique.
- The Off-Axis Trick: Instead of speaking directly into the microphone, try positioning it slightly to the side of your mouth. This way, the puffs of air from plosives will shoot right past the sensitive part of the mic. It takes a little practice to find the sweet spot, but it works.
- DIY Fixes: In a real emergency, people have gotten creative, stretching things like pantyhose over a wire hanger. While it might work for a quick demo, it's not a dependable solution for professional-level work.
For consistent, broadcast-ready audio, a proper pop filter is a small investment that pays for itself in reliability and quality. It's a non-negotiable part of a professional audio toolkit.
At The Voice Over Guy, we rely on professional-grade equipment, including expertly placed pop filters, to deliver flawless audio for every single project. If you need broadcast-ready voice-overs without the technical headaches, see what we offer at our professional voice-over services page.